Checklist Menu
A checklist is essentially a form with questions that can depend on each other. E.g. If an elevator exists in a building, the user needs to answer several questions regarding the current state of the elevator. A workbook contains one or several checklists at the start, and further checklists may be added during the inspection.
If the workbook only contains one checklist, the app will open that checklist directly and, therefore, skip the inspection view.
| # | Purpose | Description |
|---|---|---|
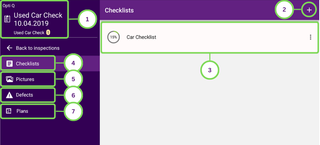
| 1 | Title | Shows the inspection title, the workbook name and its version |
| 2 | New checklist | With the + a new checklist can be added for this inspection. |
| 3 | Existing checklist | Here you can see all checklists that were created for the current inspection until now as well as their current progress. You can finish an inspection, when all checklists have all mandatory questions answered. |
| 4 | Menu Checklists | Shows the list of existing checklist of the current inspection |
| 5 | Menu Pictures | Here you can take additional images for the inspection. This menu can be enabled or disabled in the workbook setting Allow taking pictures. |
| 6 | Menu Defects | Here you can see all defects related to the checklists and can navigate to them. Use defect content types to enable this feature. |
| 7 | Menu Plans | Here you can see all the plans of the defects that are relevant for this inspection. Use defect content types to activate this function. |
Defects and plans menu
When using defect content types, their newly created or existing items can be accessed via the Defect and, if plans are available, the Plan menu.
Clicking on a defect navigates the user to the according headline in the checklist.
The same can be achieved with plans. When you open a plan, you can see all it's related defects on the right side and by selecting them, you will navigate to the item in the checklist.
Global Pictures
In the Checklist menu you can find the 'Pictures' option, if enabled. Pictures can be added to the inspection and edited here.
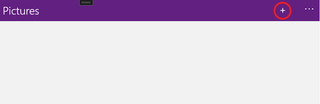
Add pictures
To import a picture, press the + in the top right area.
You can either import a photo via the camera function, or select one or more existing pictures from the gallery.

Pick pictures from gallery
If you want to add images from the gallery, you have the option of selecting several images. It looks different for each platform.
- 🤖Android
- 🍎 iOS
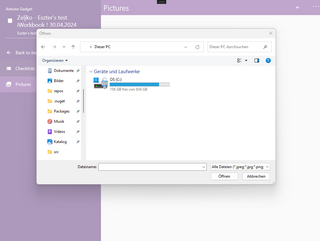
- 🪟 Windows
Opens the image galery and allows you to pick a single image by tapping it. To select multiple, long press on one image - a checkbox will appear. Then, select the remaining images you like and click "done".
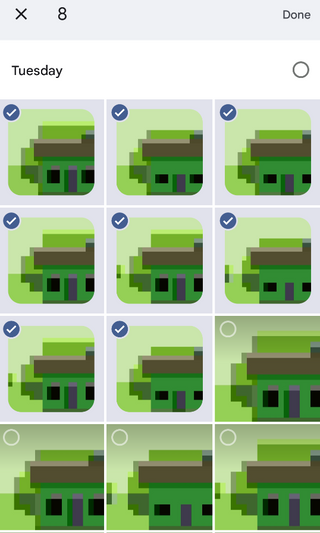
Opens the devices image galery to pick image files. Maximum number of images that can be selected is 10.
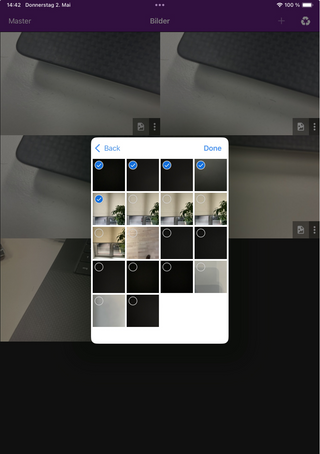
Opens the file explorer to pick image files.
Options
For existing images, you can click on the three-dot button to open the context menu and select one of three possibilities.
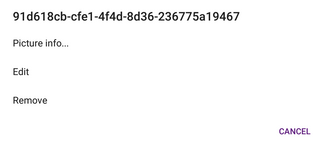
- Clicking "Remove" deletes the image
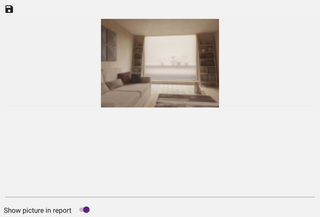
- In the "Picture Info", we can decide whether the image appears in the report or not:
- With "Edit" we can annotate the selected image:
